CNN in PyTorch#
import torch
import torchvision.transforms as T
from PIL import Image
import matplotlib.pyplot as plt
import torch.nn as nn
import torch.nn.functional as F
device = 'cuda' if torch.cuda.is_available() else 'cpu'
device
'cuda'
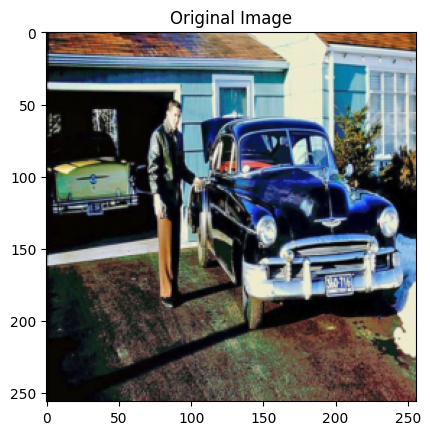
# load a sample image
img = Image.open("car.jpg").convert("RGB")

# Transform to tensor (C,H,W) and normalize to [0,1]
# C: channel (features), H: height, W: width

transform = T.Compose([T.Resize((256, 256)), T.ToTensor()])
img.size # (W, H)
(760, 506)
img_tensor = transform(img).unsqueeze(0).to(device) # shape: (1, 3, 128, 128)
img_tensor.shape # (1, C, H, W)
torch.Size([1, 3, 256, 256])
plt.figure(1)
plt.imshow(img_tensor.cpu().squeeze(0).permute(1, 2, 0)) # # Tensor: (1, 3, H, W) → (H, W, 3)
plt.title("Original Image")
Text(0.5, 1.0, 'Original Image')
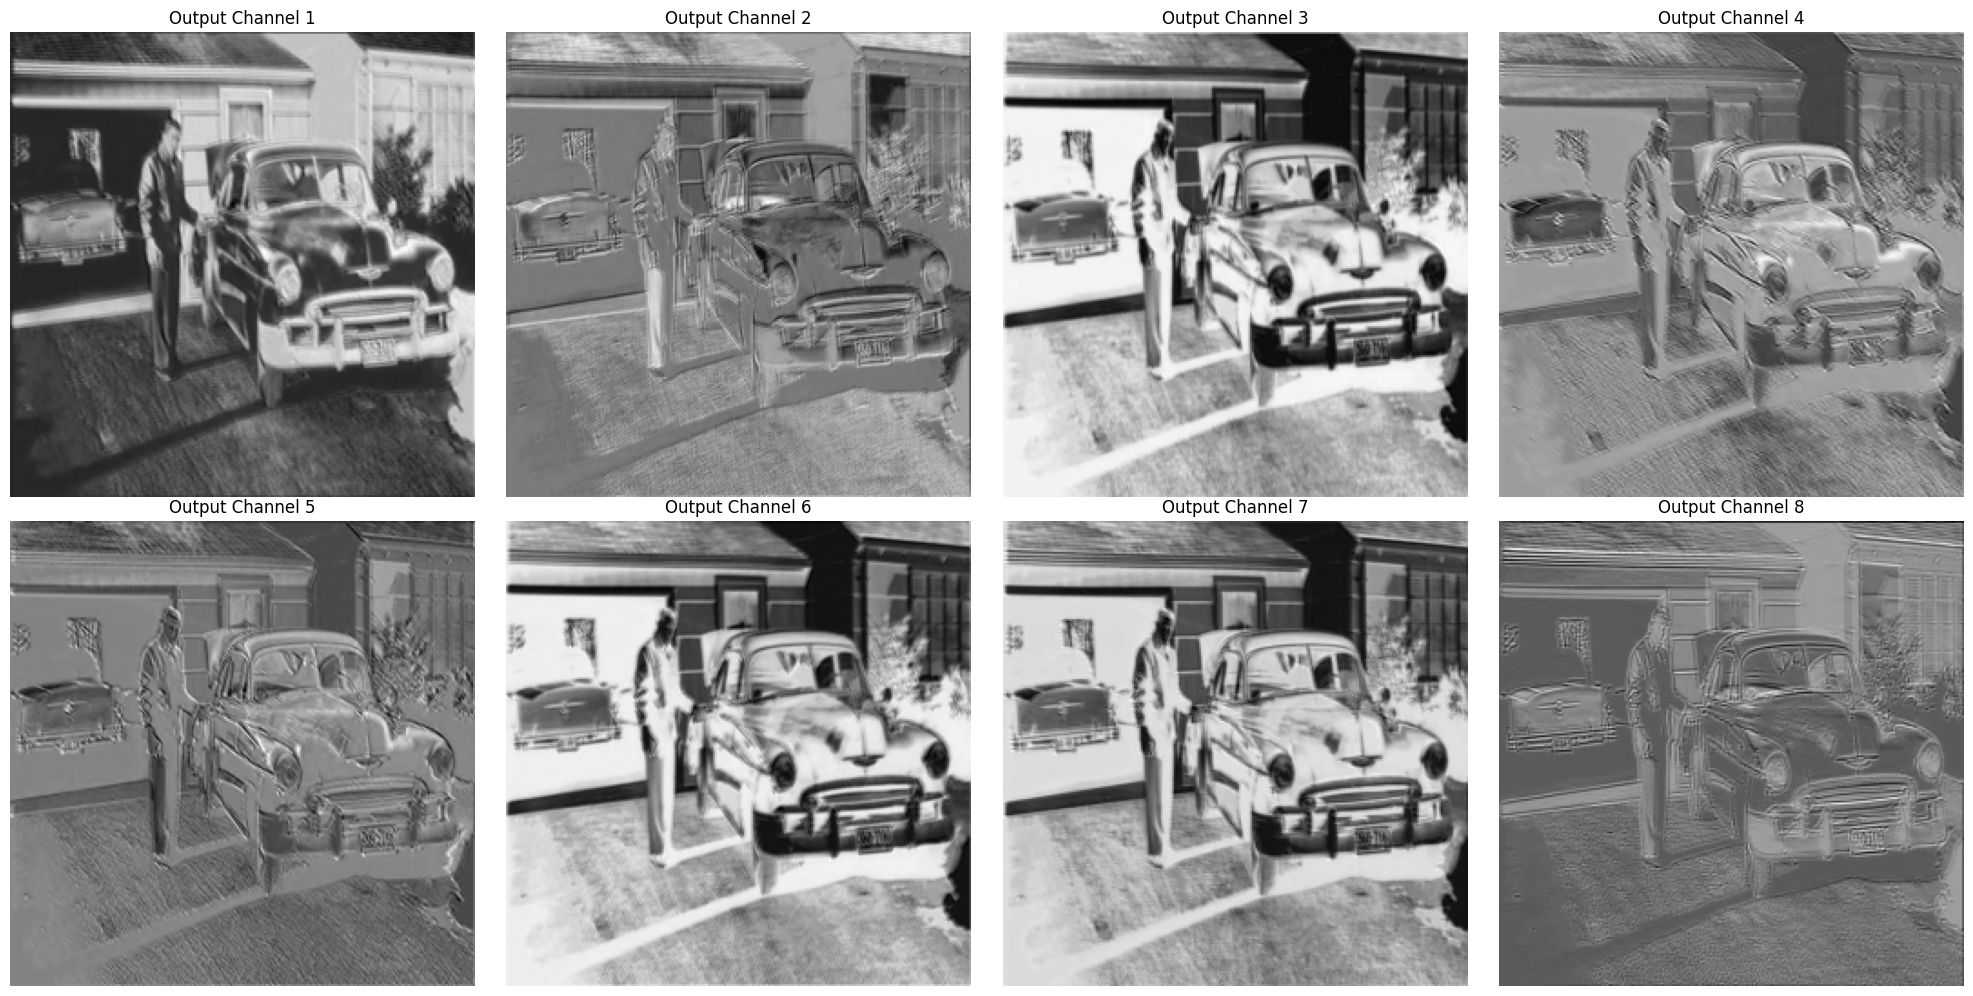
Apply conv 2D#
We will use random arguments in the Conv2D layer to see how it works.
conv = nn.Conv2d(in_channels = 3,
                 out_channels = 8,
                 kernel_size = 3,
                 stride = 1,
                 padding = 1
).to(device)

# PyTorch automatically initializes the weights and biases  for each of the 8 output channels
# Each of those channels has its own set of 3 (C)×3 (H)×3 (W) filters
# conv2d generates 2d output from 2d input, so we get 8 2d images as output
#
with torch.no_grad():
    output = conv(img_tensor)

print("conv :",conv)
print("Conv weight matrix (output_channel, channels (RGB), H, W):", conv.weight.shape)
print("Conv filter shape (channels (RGB), H, W):", conv.weight[0].shape)
conv : Conv2d(3, 8, kernel_size=(3, 3), stride=(1, 1), padding=(1, 1))
Conv weight matrix (output_channel, channels (RGB), H, W): torch.Size([8, 3, 3, 3])
Conv filter shape (channels (RGB), H, W): torch.Size([3, 3, 3])
output.shape
torch.Size([1, 8, 256, 256])
Visualise the feature maps after applying the Conv2D layer#
i = 0

for i in range(8):
    print("Loop number: ", i)
    #print(i/4, i%4)
    print("\t  plot number", i//4, i%4)
Loop number:  0
	  plot number 0 0
Loop number:  1
	  plot number 0 1
Loop number:  2
	  plot number 0 2
Loop number:  3
	  plot number 0 3
Loop number:  4
	  plot number 1 0
Loop number:  5
	  plot number 1 1
Loop number:  6
	  plot number 1 2
Loop number:  7
	  plot number 1 3
fig, axs = plt.subplots(2, 4, figsize=(20, 10))

for i in range (8): # 8 out_channels
    axs[i//4, i%4].imshow(output[0, i, :, :].cpu().numpy(), cmap='gray') # i is looping over each output channel
    axs[i//4, i%4].set_title(f"Output Channel {i+1}") # i+1 because i starts from 0
    axs[i//4, i%4].axis('off')
plt.tight_layout()
# we will use this plotting function multiple times, so let us make a function
import matplotlib.pyplot as plt

def visualize_feature_maps(tensor, fig_num, title_prefix="Channel"):
    """
    Plots the first `max_channels` feature maps from a 4D tensor of shape (1, C, H, W).
    This is very hardcoded function, don't try fancy things.
    """
    plt.figure(fig_num)
    fig, axs = plt.subplots(2, 4, figsize=(20, 10))

    for i in range (8): # 8 out_channels
        axs[i//4, i%4].imshow(tensor[0, i].cpu().numpy(), cmap='gray') # i is looping over each output channel
        axs[i//4, i%4].set_title(title_prefix +"  " + str(i+1)) # i+1 because i starts from 0
        axs[i//4, i%4].axis('off')
    plt.tight_layout()
These are different filters applied to the input image based on the weights, stride, padding etc.
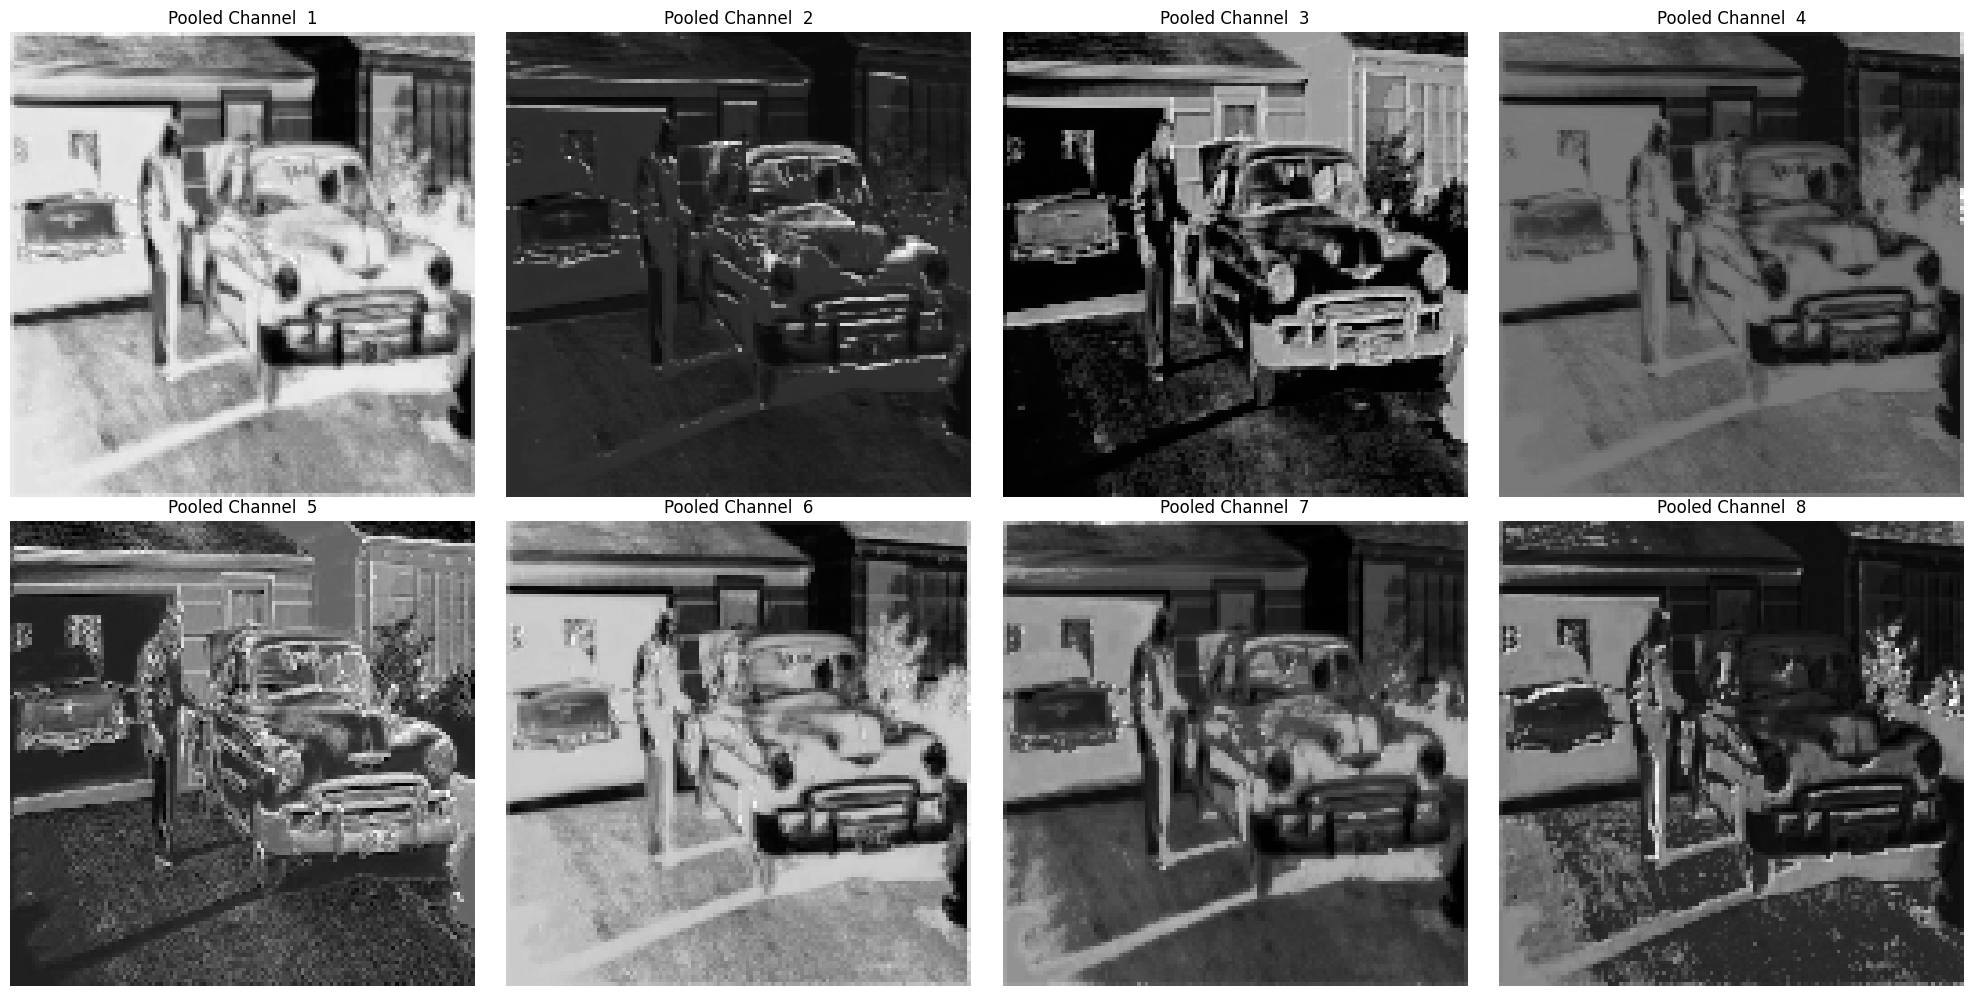
Max pooling#
We’ll apply a 2×2 max pooling with stride 2 — this will reduce spatial size by half.
pool = nn.MaxPool2d(kernel_size = 2, stride = 2).to(device)

with torch.no_grad():
    pooled = pool(output)

print("conv :",pooled.shape) # reduced by half
conv : torch.Size([1, 8, 128, 128])
visualize_feature_maps(pooled, 1, title_prefix="Pooled Channel")
<Figure size 640x480 with 0 Axes>
MaxPool doesn’t learn or add anything but reduced the spatial dimension by keeping the maximum values in each passing window. So finer detail are lost but stronger features stay.
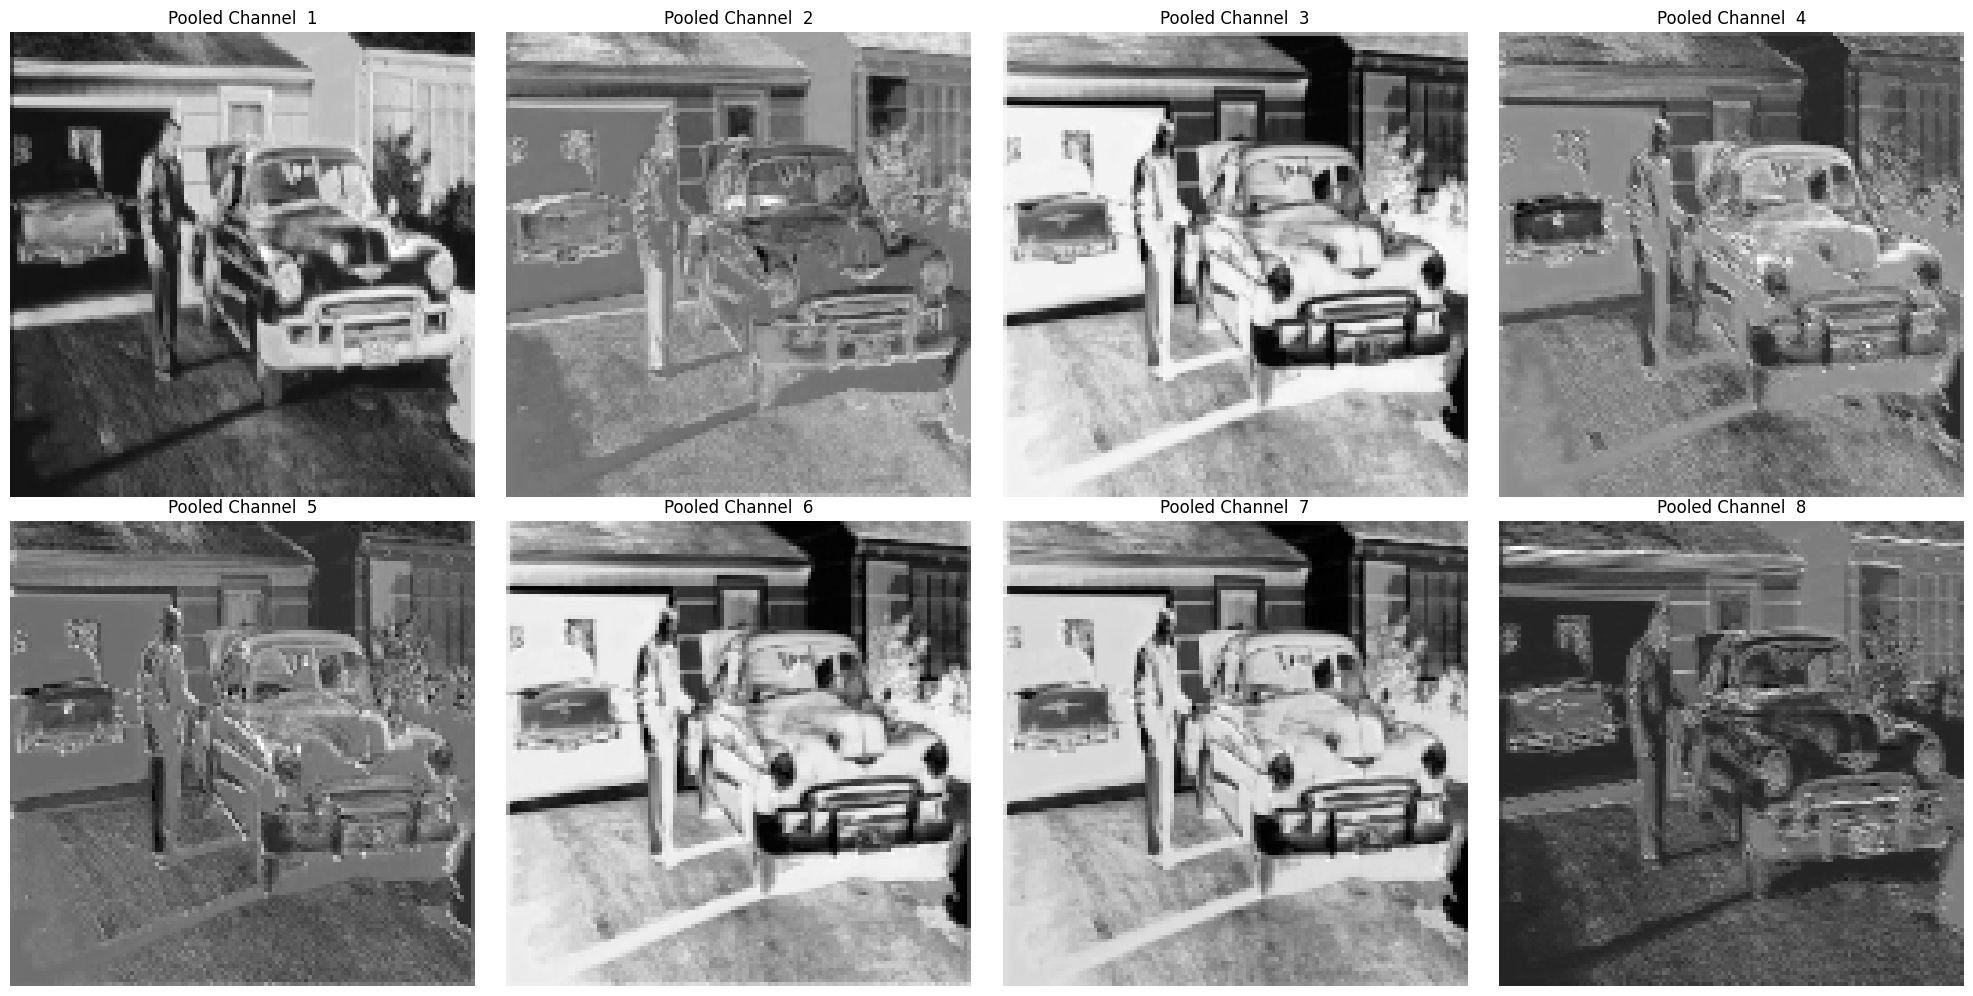
Activation function#
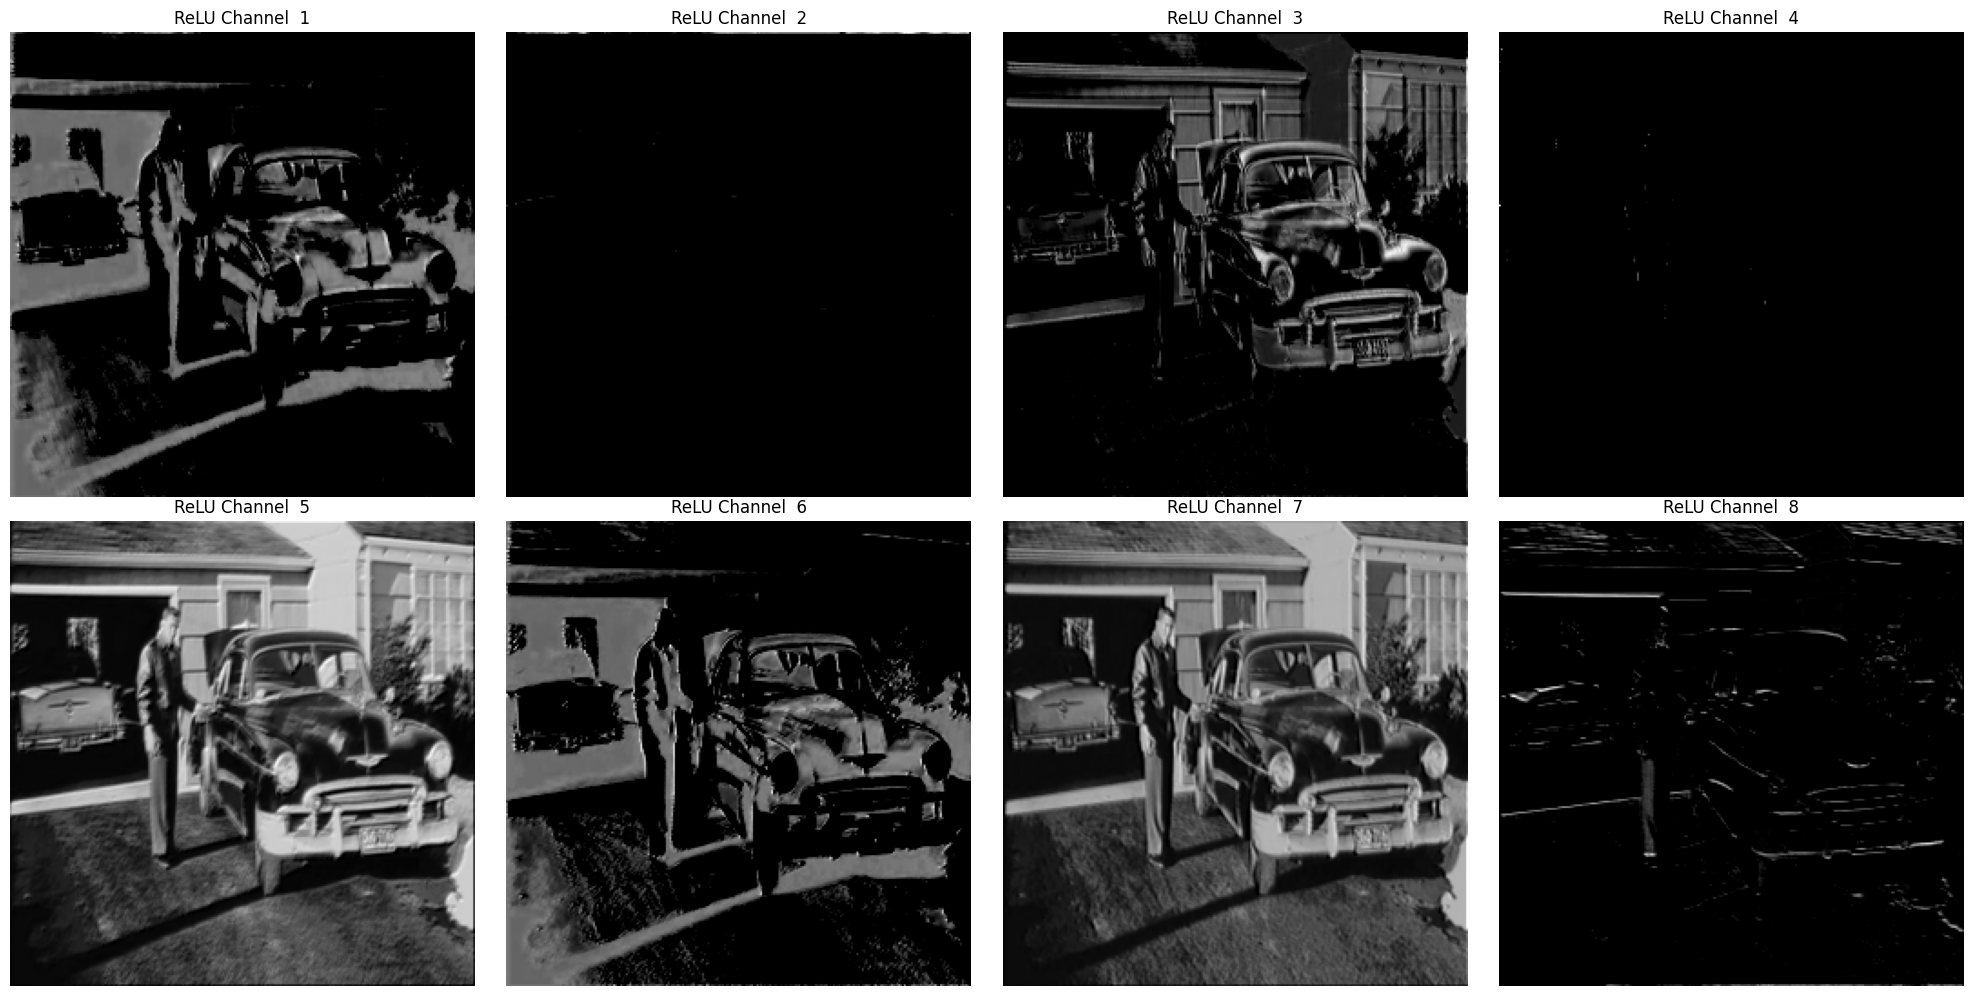
This time we are gonna apply relu. So, the process will be:
Conv -> ReLU -> MaxPool
conv = nn.Conv2d(in_channels = 3,
                 out_channels = 8,
                 kernel_size = 3,
                 stride = 1,
                 padding = 1
).to(device)

relu = nn.ReLU().to(device)

pool = nn.MaxPool2d(kernel_size = 2, stride = 2).to(device)
with torch.no_grad():
    x = conv(img_tensor)
    x_relu = relu(x)
    x_pooled = pool(x_relu)

print("Initial Image Shape:", img_tensor.shape) # contains input channel
print("Convolution Output Shape:", x.shape) # contains output channel
print("ReLU Output Shape:", x_relu.shape) # same as x, just a pass through
print("MaxPool Output Shape:", x_pooled.shape) # reduced by half
Initial Image Shape: torch.Size([1, 3, 256, 256])
Convolution Output Shape: torch.Size([1, 8, 256, 256])
ReLU Output Shape: torch.Size([1, 8, 256, 256])
MaxPool Output Shape: torch.Size([1, 8, 128, 128])
visualize_feature_maps(x_relu, 2, title_prefix="ReLU Channel") # visualize ReLU output
<Figure size 640x480 with 0 Axes>
# visualise the max pooled output
visualize_feature_maps(x_pooled, 3, title_prefix="Pooled Channel")
<Figure size 640x480 with 0 Axes>
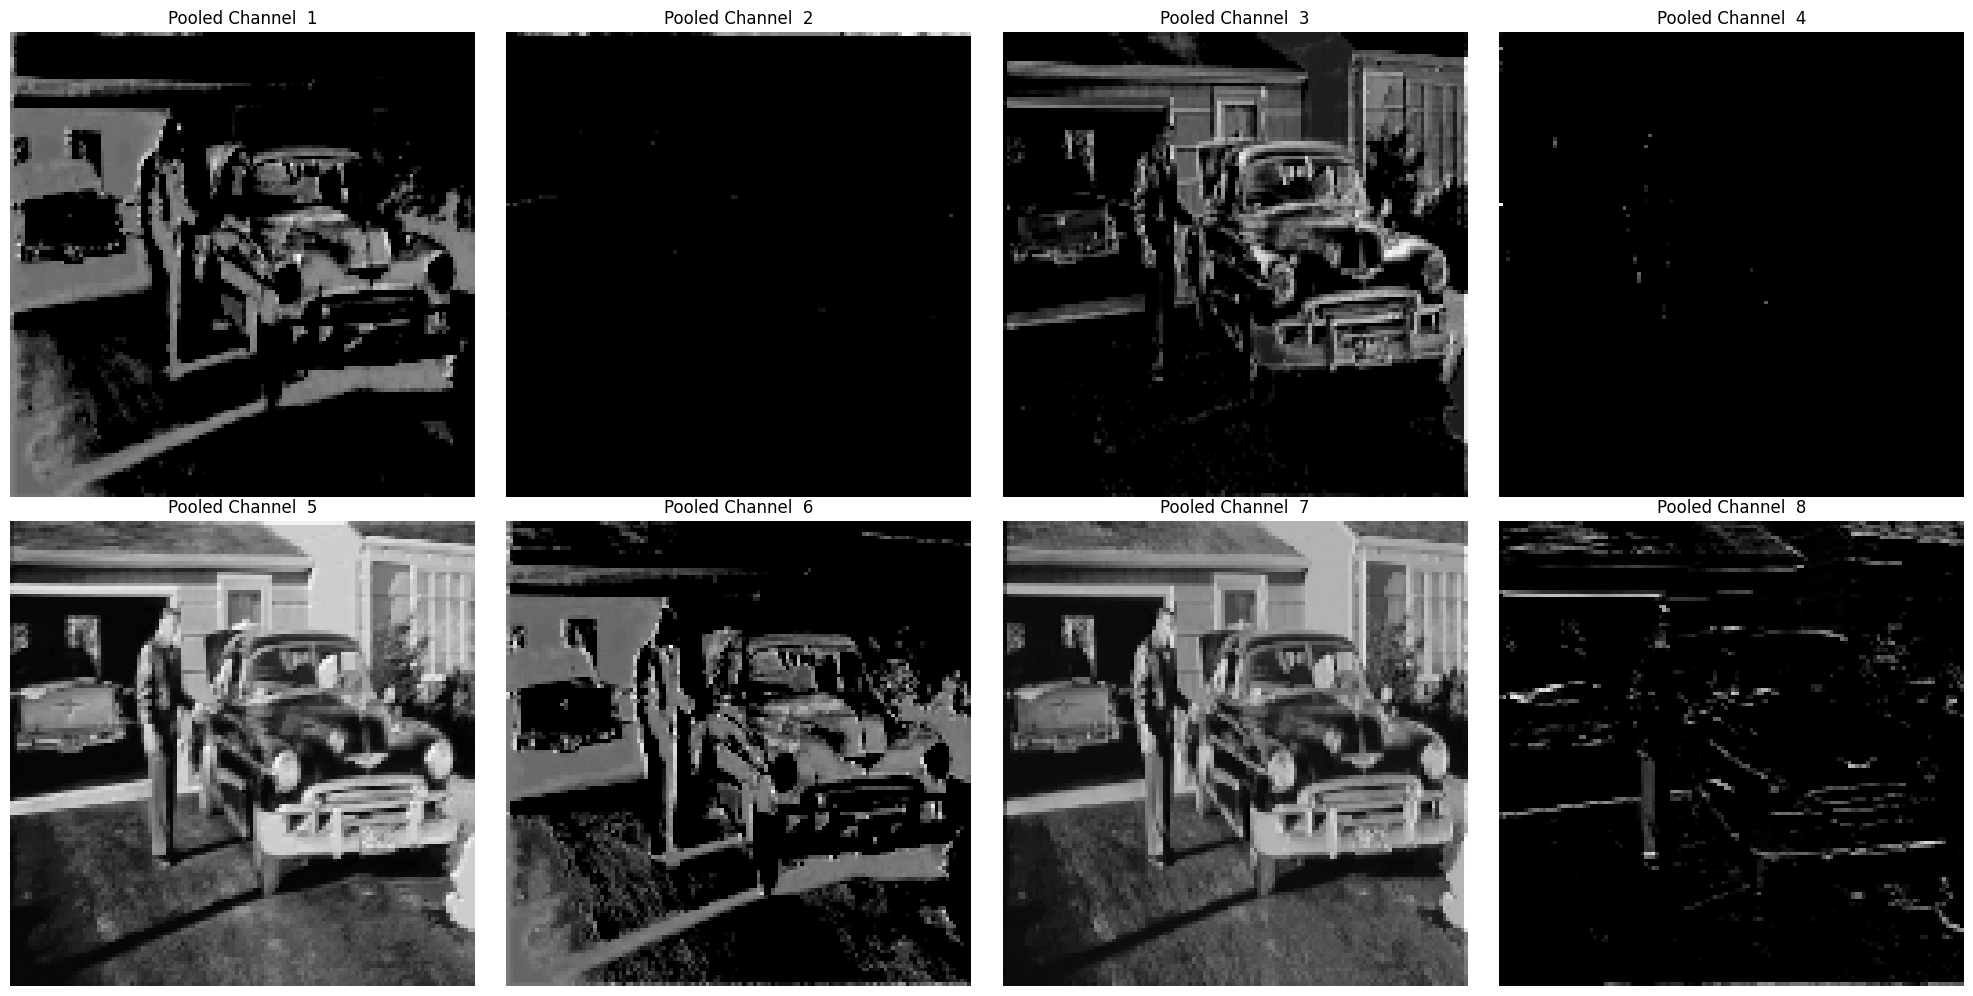
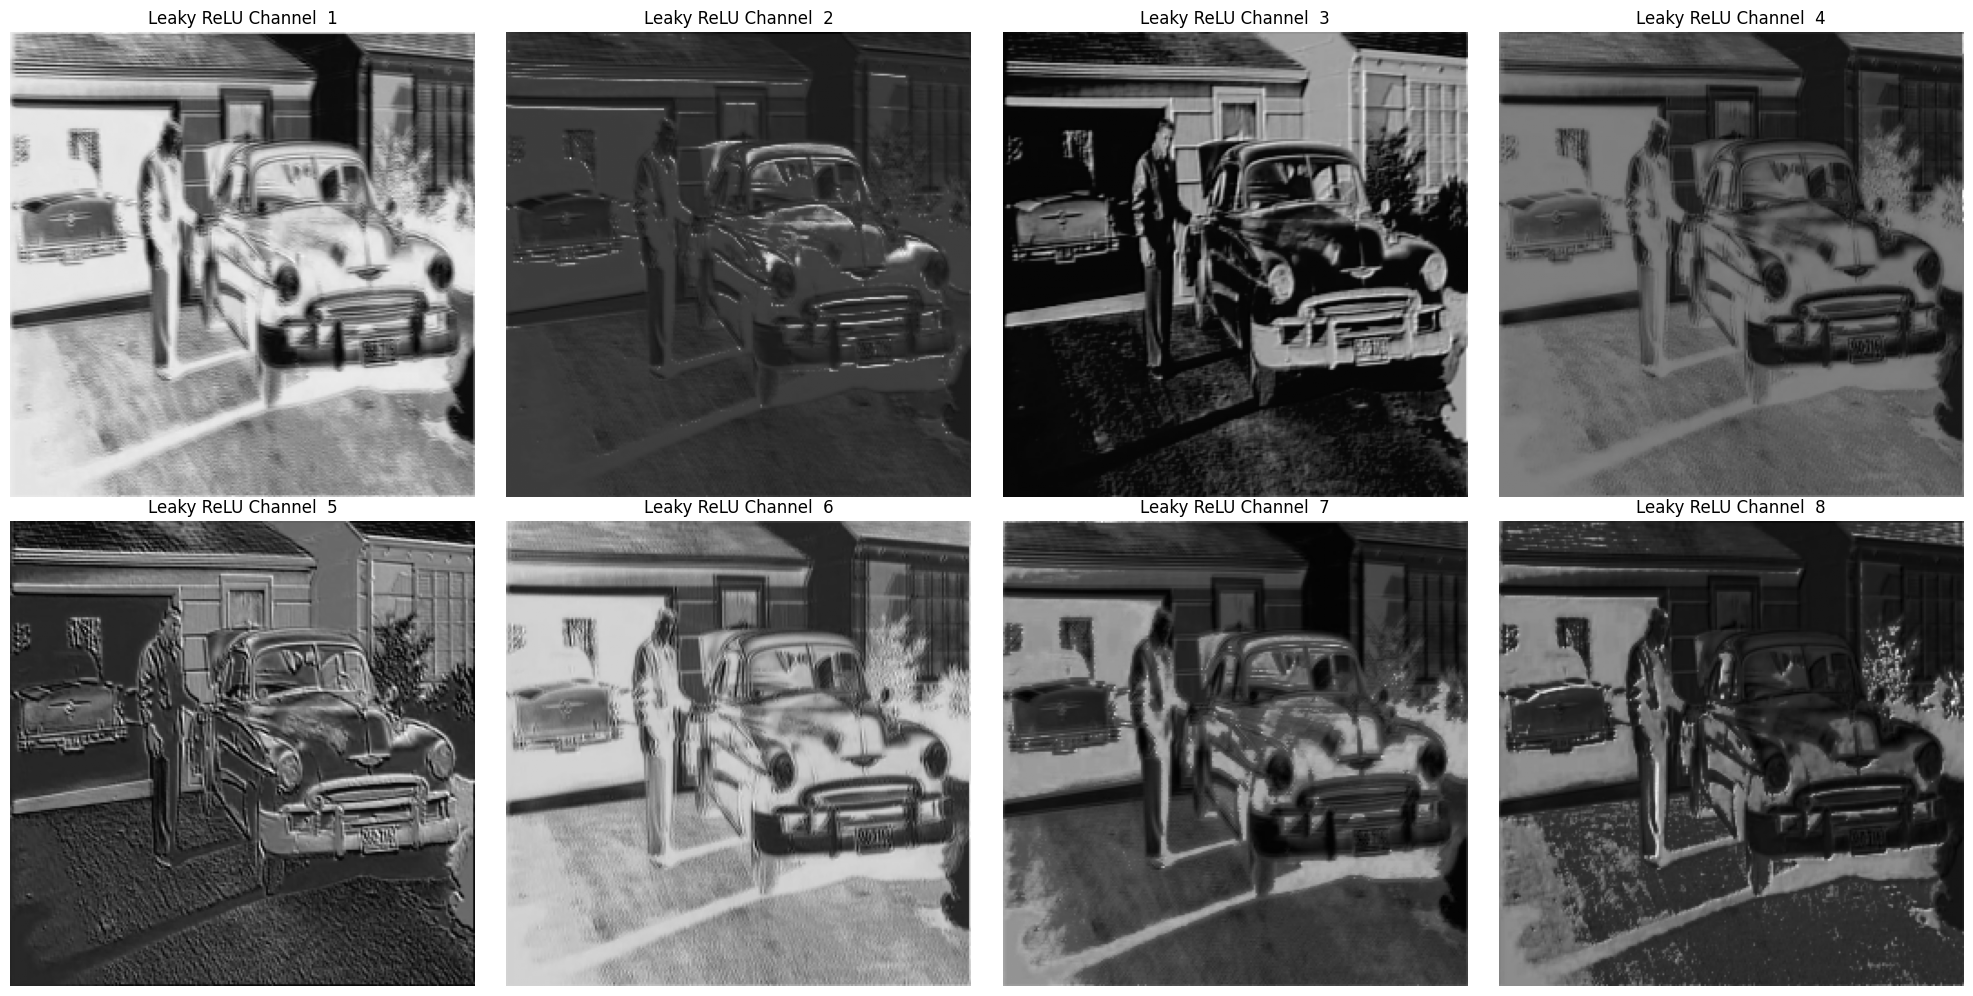
ReLU being shit, rejects everything below zero. So, max pool can’t do any magic here. Let us try Leaky relu.
Substitute ReLU with LeakyReLU#
conv = nn.Conv2d(in_channels = 3,
                 out_channels = 8,
                 kernel_size = 3,
                 stride = 1,
                 padding = 1
).to(device)

relu = nn.LeakyReLU(0.1).to(device)

pool = nn.MaxPool2d(kernel_size = 2, stride = 2).to(device)
with torch.no_grad():
    x = conv(img_tensor)
    x_relu = relu(x)
    x_pooled = pool(x_relu)

print("Initial Image Shape:", img_tensor.shape) # contains input channel
print("Convolution Output Shape:", x.shape) # contains output channel
print("ReLU Output Shape:", x_relu.shape) # same as x, just a pass through
print("MaxPool Output Shape:", x_pooled.shape) # reduced by half
Initial Image Shape: torch.Size([1, 3, 256, 256])
Convolution Output Shape: torch.Size([1, 8, 256, 256])
ReLU Output Shape: torch.Size([1, 8, 256, 256])
MaxPool Output Shape: torch.Size([1, 8, 128, 128])
visualize_feature_maps(x_relu, 4, title_prefix="Leaky ReLU Channel") # visualize LeakyReLU output
<Figure size 640x480 with 0 Axes>
# visualise the max pooled output
visualize_feature_maps(x_pooled, 5, title_prefix="Pooled Channel")
<Figure size 640x480 with 0 Axes>